Step-by-Step Guide: How to Do Gel Nails at Home Like a Pro

Published Nov. 3, 2025
Want salon-perfect nails without leaving your home? Learning how to do gel nails at home is easier than you think, and with the right approach, anyone can achieve a flawless, long-lasting finish.
Whether you’re tired of chipped polish or want to save on expensive salon visits, this step-by-step guide will walk you through how to apply gel polish on natural nails safely and effectively.
From prepping your nails to adding that professional shine, we’ll cover everything you need, share insider tips, and help you master the techniques that make gel nails look like a pro did them.
1. Gather Your Gel Nail Essentials
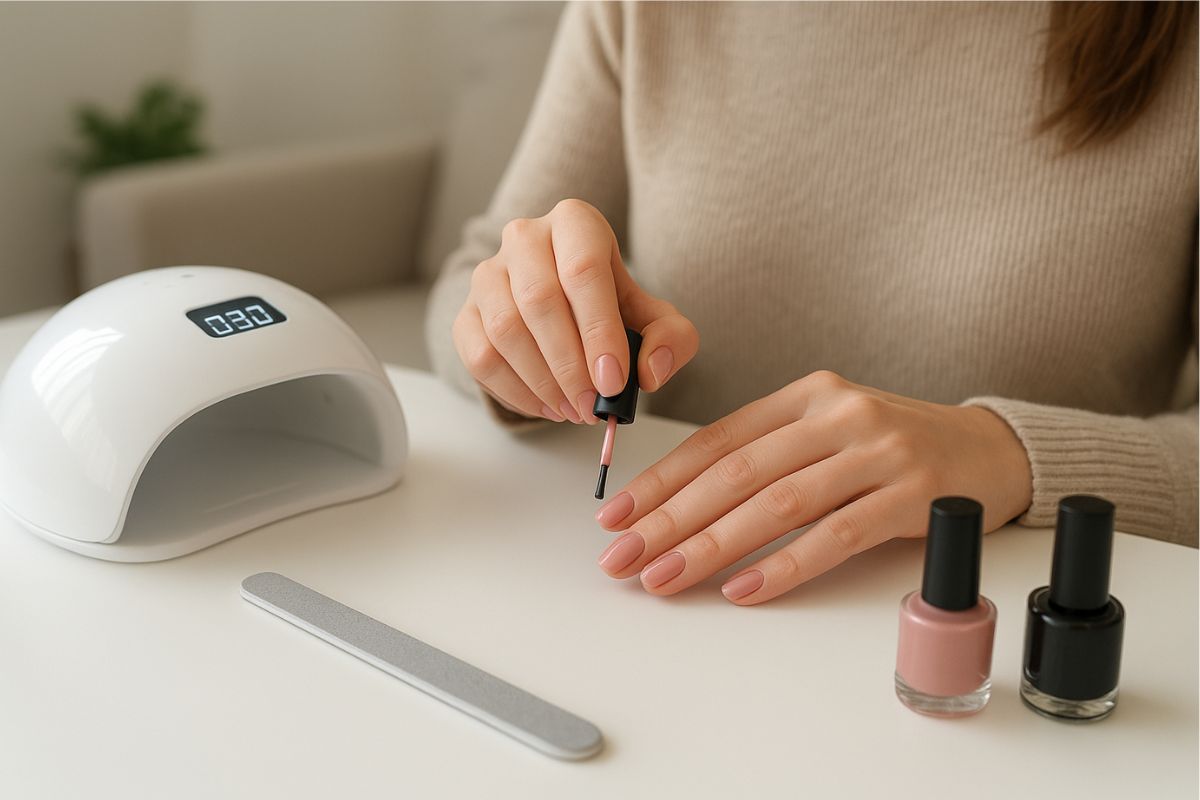
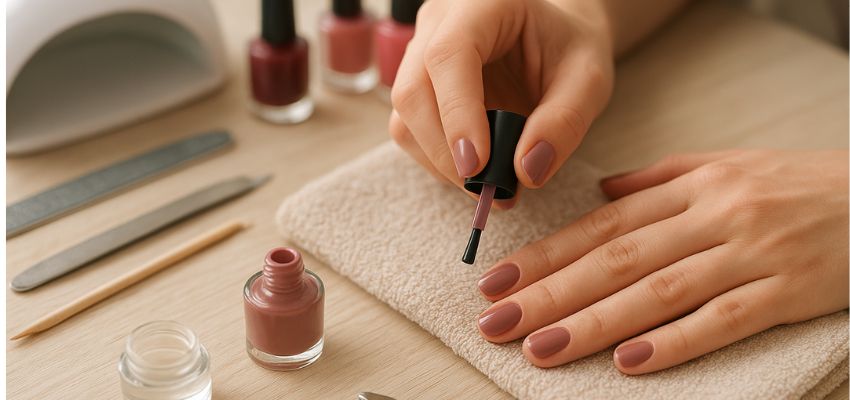
Before diving into DIY gel nails, ensure your tools are ready. A complete home gel nail kit includes a nail file, buffer, cuticle pusher, lint-free wipes, gel base coat, gel color polish, top coat, LED/UV lamp, and cuticle oil.
Preparing these items saves time and prevents mid-process frustration. Imagine starting your manicure only to realize the lamp is missing, that’s a common rookie mistake. Knowing exactly what you need also sets the stage for professional-looking results, making your at-home gel nail experience smoother, enjoyable, and closer to a salon-level finish.
2. Nail Prep: The Key to Long-Lasting Gel
Properly prepping your nails is the secret to avoiding chips and lifting. Start by cleaning and trimming your nails, then shape and lightly buff them to remove excess shine. Push back cuticles gently, ensuring polish adheres without bubbling.
Finish by wiping nails with isopropyl alcohol to remove oils and dust. Neglecting prep is one of the most common reasons gel nails fail at home. Investing these few minutes pays off with stronger, more polished results.
The better your foundation, the longer your manicure will last. Simple steps, huge payoff.
3. Apply the Base Coat Like a Pro
The base coat protects your nails and ensures color adhesion. Apply a thin, even layer, carefully avoiding the cuticles. Seal the edge by brushing the tip to prevent premature peeling. Then, cure under an LED or UV lamp for 30–60 seconds.
Too thick a layer or missed edges can ruin the polish, so precision matters. Think of it as laying the groundwork for your masterpiece, skip this, and even the best color won’t hold. A smooth, cured base coat guarantees the gel color applies evenly and lasts longer, giving your nails a flawless foundation.
4. Layering Gel Color for Stunning Nails
Applying gel color is all about patience and precision. Use thin coats, sealing the free edge each time, and cure between layers under the lamp. Usually, two to three coats achieve full coverage. Avoid thick layers, they cause bubbling, streaks, or peeling.
Check each nail to ensure consistent color before moving on. This step is where you get creative: choose vibrant hues or subtle neutrals. A steady hand, attention to detail, and patience transform DIY gel nails at home from amateur to pro quality.
Every coat adds depth, shine, and longevity to your manicure.

5. Seal with a Top Coat for Extra Shine
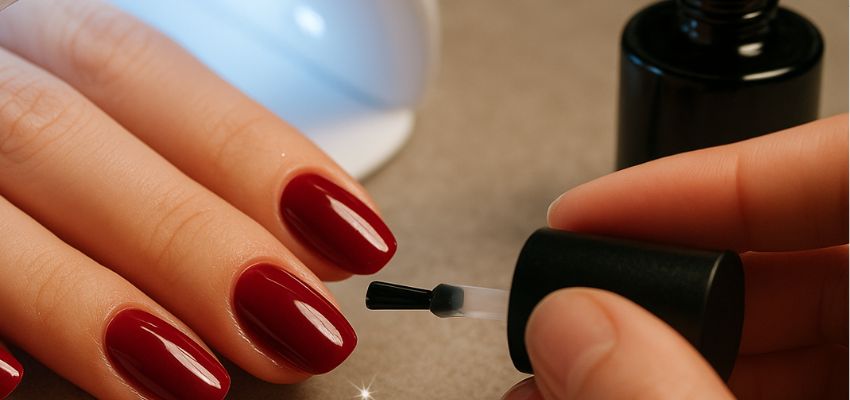
The upper coat fixes your color and gives it a shine. Coat it all over once more with the tip of the nail, and let it dry under the lamp. It is a protective coating that not only avoids chipping, but also keeps your manicure salon perfect for days.
Not taking this step is like going out of the house without a door, your nails will be exposed to damage. The top also produces that salon-like gel shine when used on DIY nails, which makes the difference between the work and the salon.
Also, remember that it is better to apply slowly and deliberately than in a hurry. The difference between a temporary polish and a long-lasting, gorgeous gel manicure is a well applied top coat.
6. Add the Finishing Touches
A few finishing touches improve your manicure even after it has dried. Wipe nails using a lint-free pad and isopropyl alcohol to get rid of sticky residues. Rub cuticle oil to moisturize and feed your nails.
Rub tenderly and circulation is better in the long run, making nails healthier. Such little details have a tremendous difference in their looks and sustainability. Novices tend to overlook them, but it is what will make an amateur creation look like a DIY project and a professional achievement.
Your nails are less likely to lift, they are shinier and smoother. The finishing steps will make your gel nails a masterpiece that will be of salon quality.
7. Tips for Longer-Lasting Gel Nails
The manicure is a service that requires proactive measures to increase its lifespan. Do not expose yourself to lengthy water exposure a few hours after application, use gloves when doing chores and moisturize your hands and cuticles on a daily basis.
These minute practices prevent cracks, peeling and dullness. It is commonly believed that gel nails are a case of set and forget but with a little bit of care, the life of the gel nail can be extended a long way.
In a regular setting, your home-done gel nails can last two to three weeks before peeling off. Learning to keep them also saves time and money as one does not have to do the work of applying nail polish very often, keeping nails perfect and healthy.
8. Correctly Removing Gel Polish
When gel polish is removed safely, it avoids damage to nails. Begin by softly filing the upper surface, wetting cotton in acetone, applying it over the nails and wrapping fingertips with foil for 1015 minutes.
Once it has softened, slide off the polish with a cuticle pusher. Top it off with buffing and cuticle oil to heal nails. Peeling and scraping are not good procedures to avoid since they make nails weak.
It is just as crucial to know how to remove as how to apply, it keeps your nails strong and prepared to continue your next DIY project. Safe removal preserves the health of the nails and avoids nail breakage; it also renders all gel manicures sustainable and fun.
9. Common Mistakes to Avoid
A gel manicure can be ruined even at home by even small missteps. The mistakes most often occurring are preparation of nails, putting polish on too thick, or not covering the edges, and forgetting about the top coat. Every error will reduce wear and lead to chipping.
Being caught in a light is another shocking guilt, and it might cause nails to break. Being aware of these pitfalls will enable beginners to get the same results as those of a salon in less time. You can refer to it as a pro cheat sheet, and prevent the following pitfalls, and your gel nails will always work. Mistakes should be seen as an opportunity to learn and ensure that DIY gel nails at home is not a tiresome experience that causes you to repeat all experiments again and again.

10. Practice Makes Perfect: Embrace the Learning Curve
Professional gel nails at home are a matter of practice. The initial success might not be perfect, although practice makes the difference by developing skill, confidence and speed. Experiment with various colors, techniques and styles and then what is the best on your nails.
Praise minimal achievements, such as smooth edges or even curing, and improve your technique every time. Keep in mind, nail technicians were not exempt from the learning curve. Patience and courage in experimenting with new designs are always a step towards perfection in all DIY sessions.
The greater practice you put in, the nearer to salon perfection your at-home gel nails will be, your nails, your rules.
FAQs about Gel Nails:
How to do gel nails professionally step by step?
To begin with, make your nails clean and trimmed. Add a base coat, color then a cure under a lamp and so on. Apply top coat and cuticle oil to polish nails.
How to do builder gel nails step by step for beginners?
Begin with clean shaped nails. Use builder gel in thin layers and cure each with the use of a lamp. Apply a top coat and push up cuticles.
Is LED or UV better for gel nails?
LED lamps are faster and safer. UV lamps work too, but take longer. Both help the gel harden well.
Should you wipe between each layer of gel polish?
No need to wipe every layer. Only wipe after the top coat to remove sticky residue. This makes nails smooth and shiny.
What goes first when doing gel nails?
Always start with clean, shaped nails. Then apply a base coat before the color. This helps the gel stick and last longer.
Final Thoughts
Doing gel nails at home can feel tricky at first, but anyone can learn with practice. Follow the steps carefully, prep your nails, apply the base, color, and top coat, and cure each layer under a lamp. Remember to take your time and be gentle with your nails.
With patience, your nails will look shiny and professional. If you want a space to practice or grow your beauty business, Salon Suites of Boca Raton offers beautiful, private suites with all the tools and support you need to succeed.
You can enjoy salon-quality nails and a professional environment all in one.
Lease Salon Space In Boca Raton Florida
Join a vibrant community of beauty professionals when you rent salon space in Boca Raton with us. Whether you’re a hairstylist, nail technician, or esthetician we have a place for you. Joining our salon family means you’re becoming part of a network that values your growth. At our Boca Raton location, you’ll enjoy free cleaning services, flexible lease agreements, and much more. Lease salon space in Boca Raton by reaching out today.

About The Author
Julie Fortuna is a talented writer for Salon Suites of Boca Raton. She specializes in creating insightful content about topics that help beauty professionals succeed in their careers. Her clear and approachable writing style helps inspire calm and confidence.


